Showing posts with label Papertrey Ink. Show all posts

Wednesday, April 25, 2012

Sending smiles...

You're at the right place for the Papertrey Ink Blog Hop!
I won't keep you,
I know you have a lot of projects to look at!

Here is my card using the gorgeous Spring colors and layers that were inspired by the pretty inspiration photo!
(My embossing glitter came out a bit bright and not as pink as what I had expected,
but it makes the balloon really pop!)

 I used the sentiment from "Up, Up and Away Sentiments".
I love this stamp set and use it all of the time!
With any luck, perhaps I will win the
coordinating stamp set itself!
The little clouds are Papertrey's dies! Aren't they adorable?
Another product that stays on my craft table 24/7!

Keep hopping...and good luck to all of you, too!

Tuesday, April 24, 2012

Owl always be grateful...

I have a long list of cards that I need to make this week for so many
events and occasions!
This little one I made as a Thank You and the inside reads,
"Owl always be grateful!"
Cute, eh?

I wanted something easy but thoughtful, and the
gave me the inspiration I needed to pull this one together this morning.

Using Nicole's technique using the glitter on the little Papertrey cloud die cuts really made this come together quickly!
I also used the sentiment from the Papertrey, Think Big Favorites #1...
it's one of my favorite "go-to" stamp sets.
The fun paper is from DCWV, "Green Stack".
(Appropriate for celebrating this past Earth Day, too!)

This card is also entered in the challenges at
Sentimental Sundays (Earth Day celebration)
Creative Craft Challenges (Animal Antics)
Raise the Bar (Clouds)
Thanks for looking!


Friday, March 30, 2012

Bras are like friends...

I just love the Bra Volume 1 stamp set at

And this week they have a
challenge sketch that called out to me!

Well, AND the prize is a set of Skipping Stones stamps!  Whoo-hoo!


I just felt like hanging the little gals out in the clear Spring breeze, added some light, sweet die-cut clouds, tiny bling, and a bit of sparkle by heat embossing and fussy cutting the bras!


Hope you like!

Also, entered in the challenge at:

Thursday, February 23, 2012

Glittered "Buttons"

The "Make It Monday" Challenge at Papertrey Ink's blog this week demonstrates the technique of glittering our buttons, both real and die cut.
I love using my Buttons Boutique Dies and card stamp, so this was no chore.


Here is my card. I'll let you judge for yourself how you feel about adding the glitter...


I am out of spray adhesive, so I had to brush on the ol' white liquid glue. I don't know if that's why I didn't get such a great coverage with the glitter, but I had intentionally wanted to maintain the color and pattern of my buttons
(both the real one and those I had punched out of the pattern papers)
The technique was intersting, but not sure how often I will use it. 
I guess I'm more of a purest when it comes to my button embellishments!


No matter, I still dearly love the Button Boutique button card die and stamps and will be happy to send this pretty little card to a friend!

Check out this challenge and all of the "Make It Monday" tips and techniques!

Monday, February 13, 2012

Papertrey - Butterflies and Leaves!

Papertrey Ink is celebrating their 5th Anniversary and, besides gaving some great releases, they have their usual terrific challenges! Well, this one co-ordinates with the release of a new set of butterflies and leaf stamps!  I really could use some fantastic new stamps!  And BUTTERFLIES take top priority on many of my cards!


I love the way the butterflies look as though they are floating across the card!
And I would love to have some new leaf stamps and dies!


The adorable little cloud cut-outs are the cloud dies from Papertrey, as is the sentiment.

Thanks for looking ! 


Wednesday, December 14, 2011

Papertrey Part Deux

I had such a good time with the first card, so I decided to make a second one for this fun challenge at Capture the Moment for Make it Monday!

I heat embossed the stamped design on the dress form and then followed up by coloring it with Copics.  Loving those Pearl Pens, too! Makes adding the little details so quick and easy!  The sentiment is Papertrey Ink, of course!

new papertrey challenge!

The Make It Monday challenge at Capture the Moment this week is to color with your Copics on an embossed image or sentiment...
Needless to say, this made me a bit nervous.  There are so many rules about what you CAN and CAN NOT touch the Copics ink tips to that I kinda freaked.

But here is my card.  I heat embossed the Papertrey sentiment and the butterfly stamped image from my stash. Then I highlighted the butterflies in flight with my markers.  I noticed a bit of a white residue left on my marker tips so I cleaned them thoroughly to avoid any gumminess or problems next time I use them.  I would suggest always cleaning them if you are in doubt about where those tips have been!


I like the soft color it added to my butterflies.
And it gave me an excuse to use some of the Prima flowers a friend gave me recently!
(Thanks, Jennifer!)


Tuesday, November 29, 2011

Challenges Galore!

This month HAS to be the most inspiring of the year! So many challenges to help you get your Christmas/Holiday cards finished!

"Capture the Moment", has a "ruffle" challenge! I love ruffles, whether handmade out of ribbon or paper, or store bought.  I chose to make mine out of my Hug Snug ribbon to keep a soft, cream color to my card.

The sketch I used was from Card Patterns blog, flipped, of course! 


Supplies:
Stamps; Papertrey Ink, "Button Boutique"
Ribbon; Hug Snug (internet purchase)
Ink; Tim Holtz, Distress Ink, "Vintage Photo", and Quick Quotes, "Banana Bliss"

Enjoy the season, and take advantage of all the great ideas and inspiration out there!

Thursday, November 17, 2011

Vintage Handmade Christmas


I love the old, vintage look of all of the latest scrapbook products out there! One of my favorites is the "Button Boutique" set from Papertrey Ink.
I use it for all occasions, and on all sorts of projects.
This week, the Make it Monday challenge at Papertrey Ink is to put
glitter, flocking, or Perfect Pearls on your project! 

Here's my entry!
1. I started by covering a white card base with my pattern paper and rounding the two outside corners.  Attached it to the cardbase.
2. I cut my red pattern paper and rounded those corners as well to match the corners of the button card.
3. I then die cut the button card and stamped it in red.  ( Inking all the edges as I went )
4. The fun part was die cutting all of the little buttons along with the sentiment and label in chipboard and then covering them with glitter!  (Notice I slipped one little Jenni Bowlin chipboard button onto the card! And even that I clear embossed for shine!)

5. To finish, I simply layered my card, and added the gold bow and the glittered blue and green buttons and label strip.

At first, I wasn't sure I liked the vintage look combined with the sparkly glitter,
but it's growing on me!

Supplies:
Papers:  Paper Studio, "A Heartwarming Holiday", and Cosmo Cricket,
"Odds and Ends"
Stamps: Papertrey ink, "Button Boutique" and Inkadinakdo "Doodle Frames Holiday"
Glitter: Stampendous
 
Also entered at the challenge at:
Stampendous Impressions, ( Using chipboard -and used their wonderful glitter, of course)

Monday, October 17, 2011

Papertrey Frames Challenge!

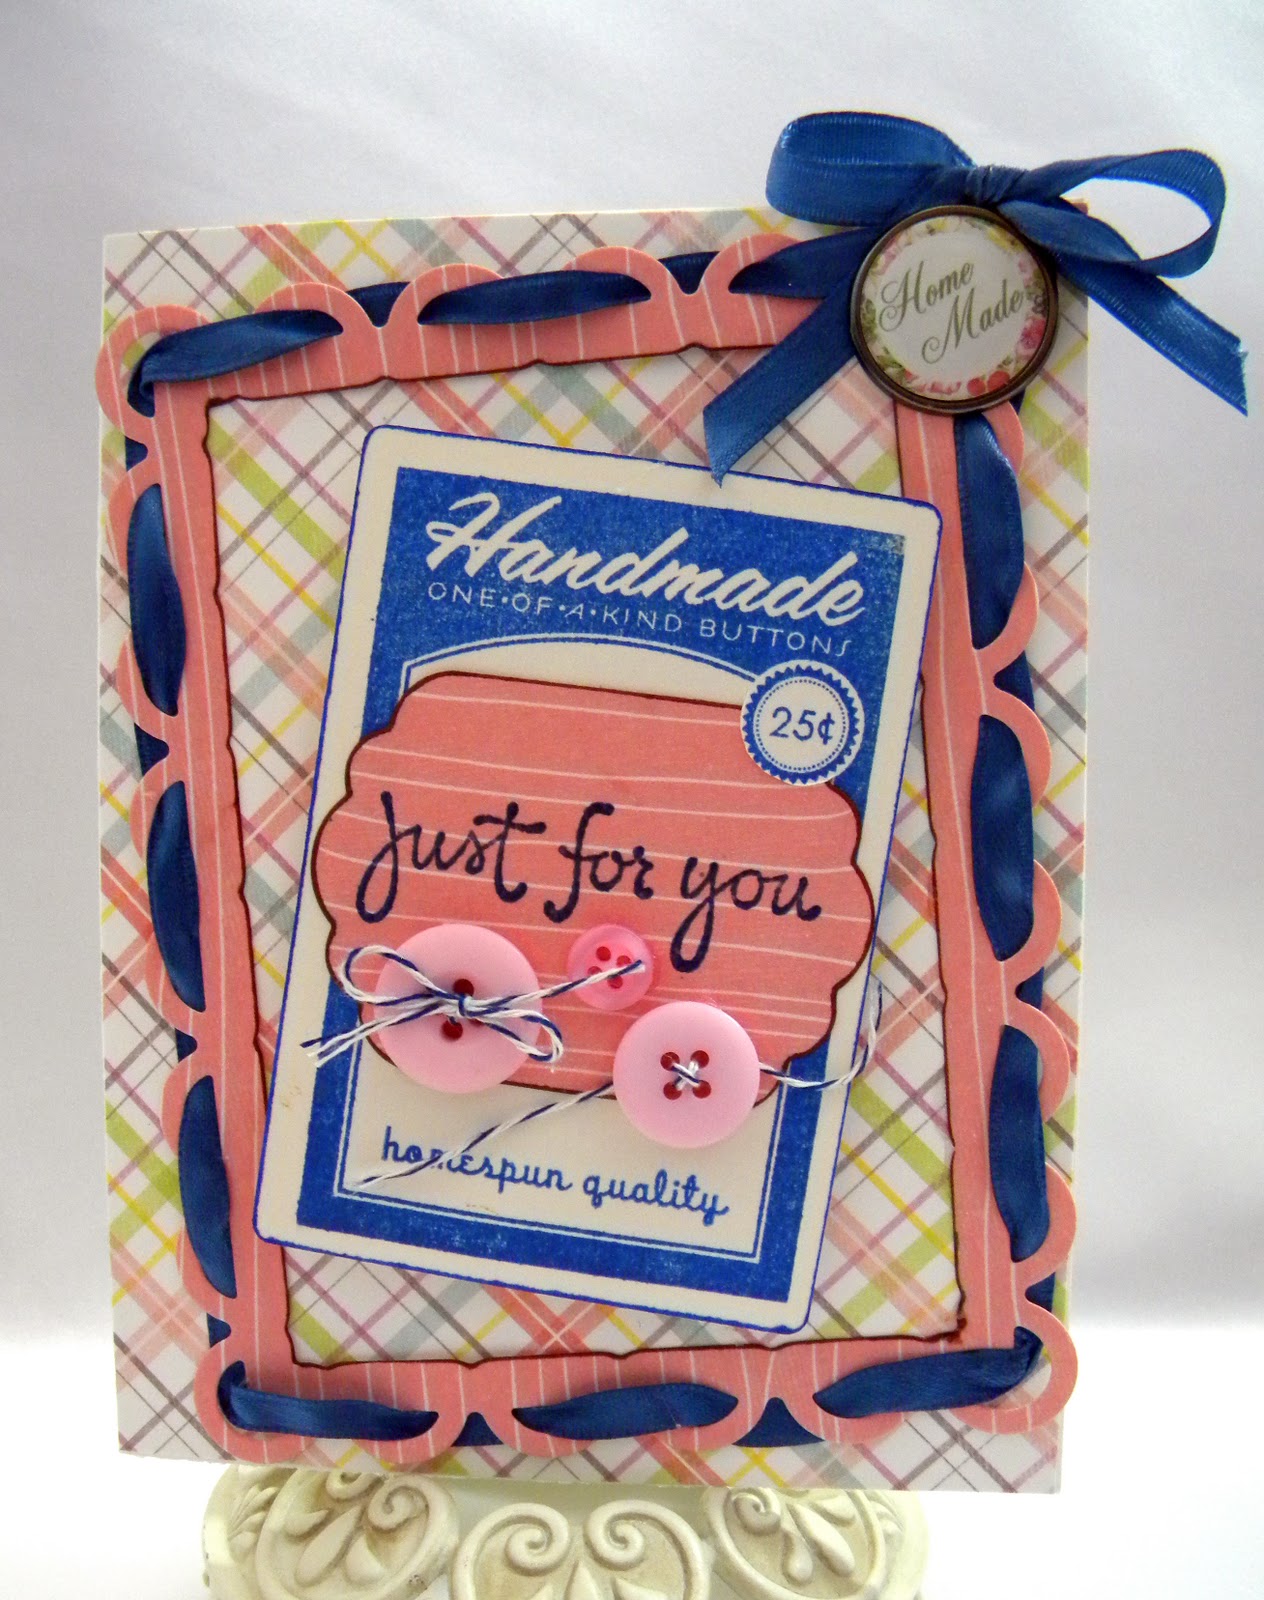
I made this card especially for the Make It Monday Challenge over at {Capture the Moment}.  Dawn McVey has posted a terrific video to demonstrate how to use layers and frames on your projects!  I inked up my button card from Papertrey's Button Boutique collection and put together this little "All Occasion" card to keep on hand. The sentiment is heat embossed so it pops IRL and I popped up the button card to give it some dimension.  I photographed it several times and tried to get the lighting right. The colors are dark pink and blue with the light pink buttons, even though it shows up rather "orangey".  It truly DOES co-ordinate well!

  I added just a few die cut paper buttons to the inside to tie it all together.
Supplies:
Paper: DCWV, "All About Girls"
Stamps: Papertrey Ink, "Button Boutique"; Sentiment, Hampton Arts,
               (the Michael's dollar bin)
Dies:  Papertrey Ink, "Button Card" and "Buttons";  Nestibilities, Labels Eleven;          Spellbinders,  Frameablities, "Scalloped Edge Frame
Brad: Melody Ross
Twine, Buttons, and Ribbon are from my scrap stash.

This card also qualifies for and will be entered into the challenges at:
Polka Doodles (Ribbons and Bows)
Stamptacular Sundays (You Choose!)

Tuesday, July 26, 2011

Every Cloud....

has a silver lining.

I know it sounds corny, but who doesn't need a reminder that things will get better with a bit of time. 

This background was stamped first and then the sentiment and clouds added after.
This card was made for the Stamp-a-faire challenge #10 at "Capture the Moment", Papertrey's blog.  The challenge was to stamp the background in a lighter color than your focal point! What a simple concept, yet one we often forget and we just go grab that pattern paper.


I stamped the sentiment in a black contrasting ink, and then chose to go with the hand-cut WHITE clouds and ric rac to show up against the stamped background. So....a little black and a little white. This challenge DID prompt me to get out my retired larger stamp and make my own pattern background!  I like the results, simple.

Supplies:
Stamps;  Cornish Heritage Farms, SL-3162WUM
               Papertrey Ink, "Up Up and Away Sentiments"
Cardstock; Bazzill

Sunday, June 12, 2011

Button Boutique!

I love these dies and stamps!  When Papertrey Ink revealed these several months ago, I went completely mad for them! And my good friend, Liz,who is a real sweetie, decided to get them for me!  We have BIG future plans for these little babies... (sorry, details down the road).  But in the meantime, I am having the time of my life playing with them! I have always been a seamstress, of sorts. I loved Clothing 101 in school, and made many of my kids clothes when they were young.  Halloween was just another excuse for me to get out the Singer! 
Anything to do with the hobby of sewing interests me. But at this point in time, the small projects are much more appealing to me!

Between the great retro papers that are out there, and all the cool trims available, these projects are bound to be a favorite with cardmakers! 

To start with, I wanted to try the "Make it Monday" technique at Papertrey Ink's blog, Capture the Moment.  This week it was tissue texturing...very reminescent of the old tissue paper layering with the Mod Podge. And surprisingly, after trying several types of adhesive, that's what actually worked best!  I love the way it softens the colors of your papers.  I HAD to use my pattern paper with and without tissue so that the card would reflect both contrasting versions.  I even tissued the sentiment tag...and pulled out the old sewing machine to stitch around the edge.

Then I used the button card and the button dies from the Button Boutique Collection. Too easy! 

Lastly, I dug into my sewing stash for some mini ric-rak. I topped it off with an actual OLD safety pin.

                   I LOVE THIS TECHNIQUE!

Supplies:
Paper: DCWV, Lady Couture
Stamps and Dies: Papertrey Ink, Button Boutique
Ric-Rac from my stash
Mod Podge Matte Adhesive
Helmar 450 Quick Dry

Challenges:
Papertrey Ink, (Make it Monday)
Moxie Fab World (Sewing)


Thursday, June 9, 2011

Thank You "berry" much!

I love these cute fruit and veggie papers that are so popular right now!  I may have made this card for a challenge or two, but I had so much fun working with the cherry print!

  A shaped card just seemed right for this sentiment and image....

Supplies:
Paper:  DCWV, Farmers Market
Dies: Papertrey Ink, Danity Doily and Button Boutique
Stamp:  Papertrey Ink, Think Big #1
White paper doily, Wilton

Challenges:
Simon Says (Go Fruity!)

Tuesday, April 26, 2011

April Showers...

I have relatives and friends back in Illinois, Missouri, Iowa, and Wisconsin who have been experiencing horrendous weather.  My hometown, Granite City, Illinois, was hit by more tornados last week and many homes were lost or badly damaged.  Fortunately, my own aunts and cousin's homes were not affected.  But it must seem to them that the storms will never end. 
I have one Aunt who has been sleeping in her basement due to the fact that the storms usually occur after dark.  Poor thing....  I would be scared all alone when the winds are reaching 80 mph and higher, too! 
                 So, enough background info!
I made some quick cards to send out with the promise that the storms will end and Spring will bring the flowers!
I just received this Verve set of stamps the other day and was dying to ink them up! They work so well with heat embossing, and the dies are so easy to use! 
There is also a great tutorial about Line Framing on Papertrey's blog.  Not as easy to get it perfectly straight as one would think!  Thanks, Nichole!
And the leaf ribbon takes the ink so well, you can darken it to match your layout! (See version 2)


Version 2 , with inked leaf ribbon  added....


I love the way the leaf ribbon works with the stamped leaves, but not with this sketch.  I'm liking the simpler version more. 

This card will be entered in several challenges:
Verve Stamps - April Showers Bring May Flowers
Papertrey Ink, {capture the moment} - Line Frame Card

I would love to win some of those delicious PTI stamps !!!

MFT November Sketch Challenge!

This week at MFT ,  the sketch challenge #462 is  a fairly simple one!.   Here's my take on a much needed Get Well card for my ...